Find the Opportunity
Understand who buys leather goods and why consistency wins repeat orders.
A practical starting point for leatherworkers who want to launch a leather craft business with clearer product lines, tooling workflow basics, and repeatable build habits.
This page walks you through how to start a leather craft business as a focused handmade brand—not just tooling in a garage without production standards. You will learn who buys leather goods, how to define product lines customers can compare, how to source and describe materials honestly, how to build a tooling workflow matched to your collection, how to achieve construction consistency piece after piece, how to price from real production costs, how buyers find you, and how to grow without sacrificing quality.
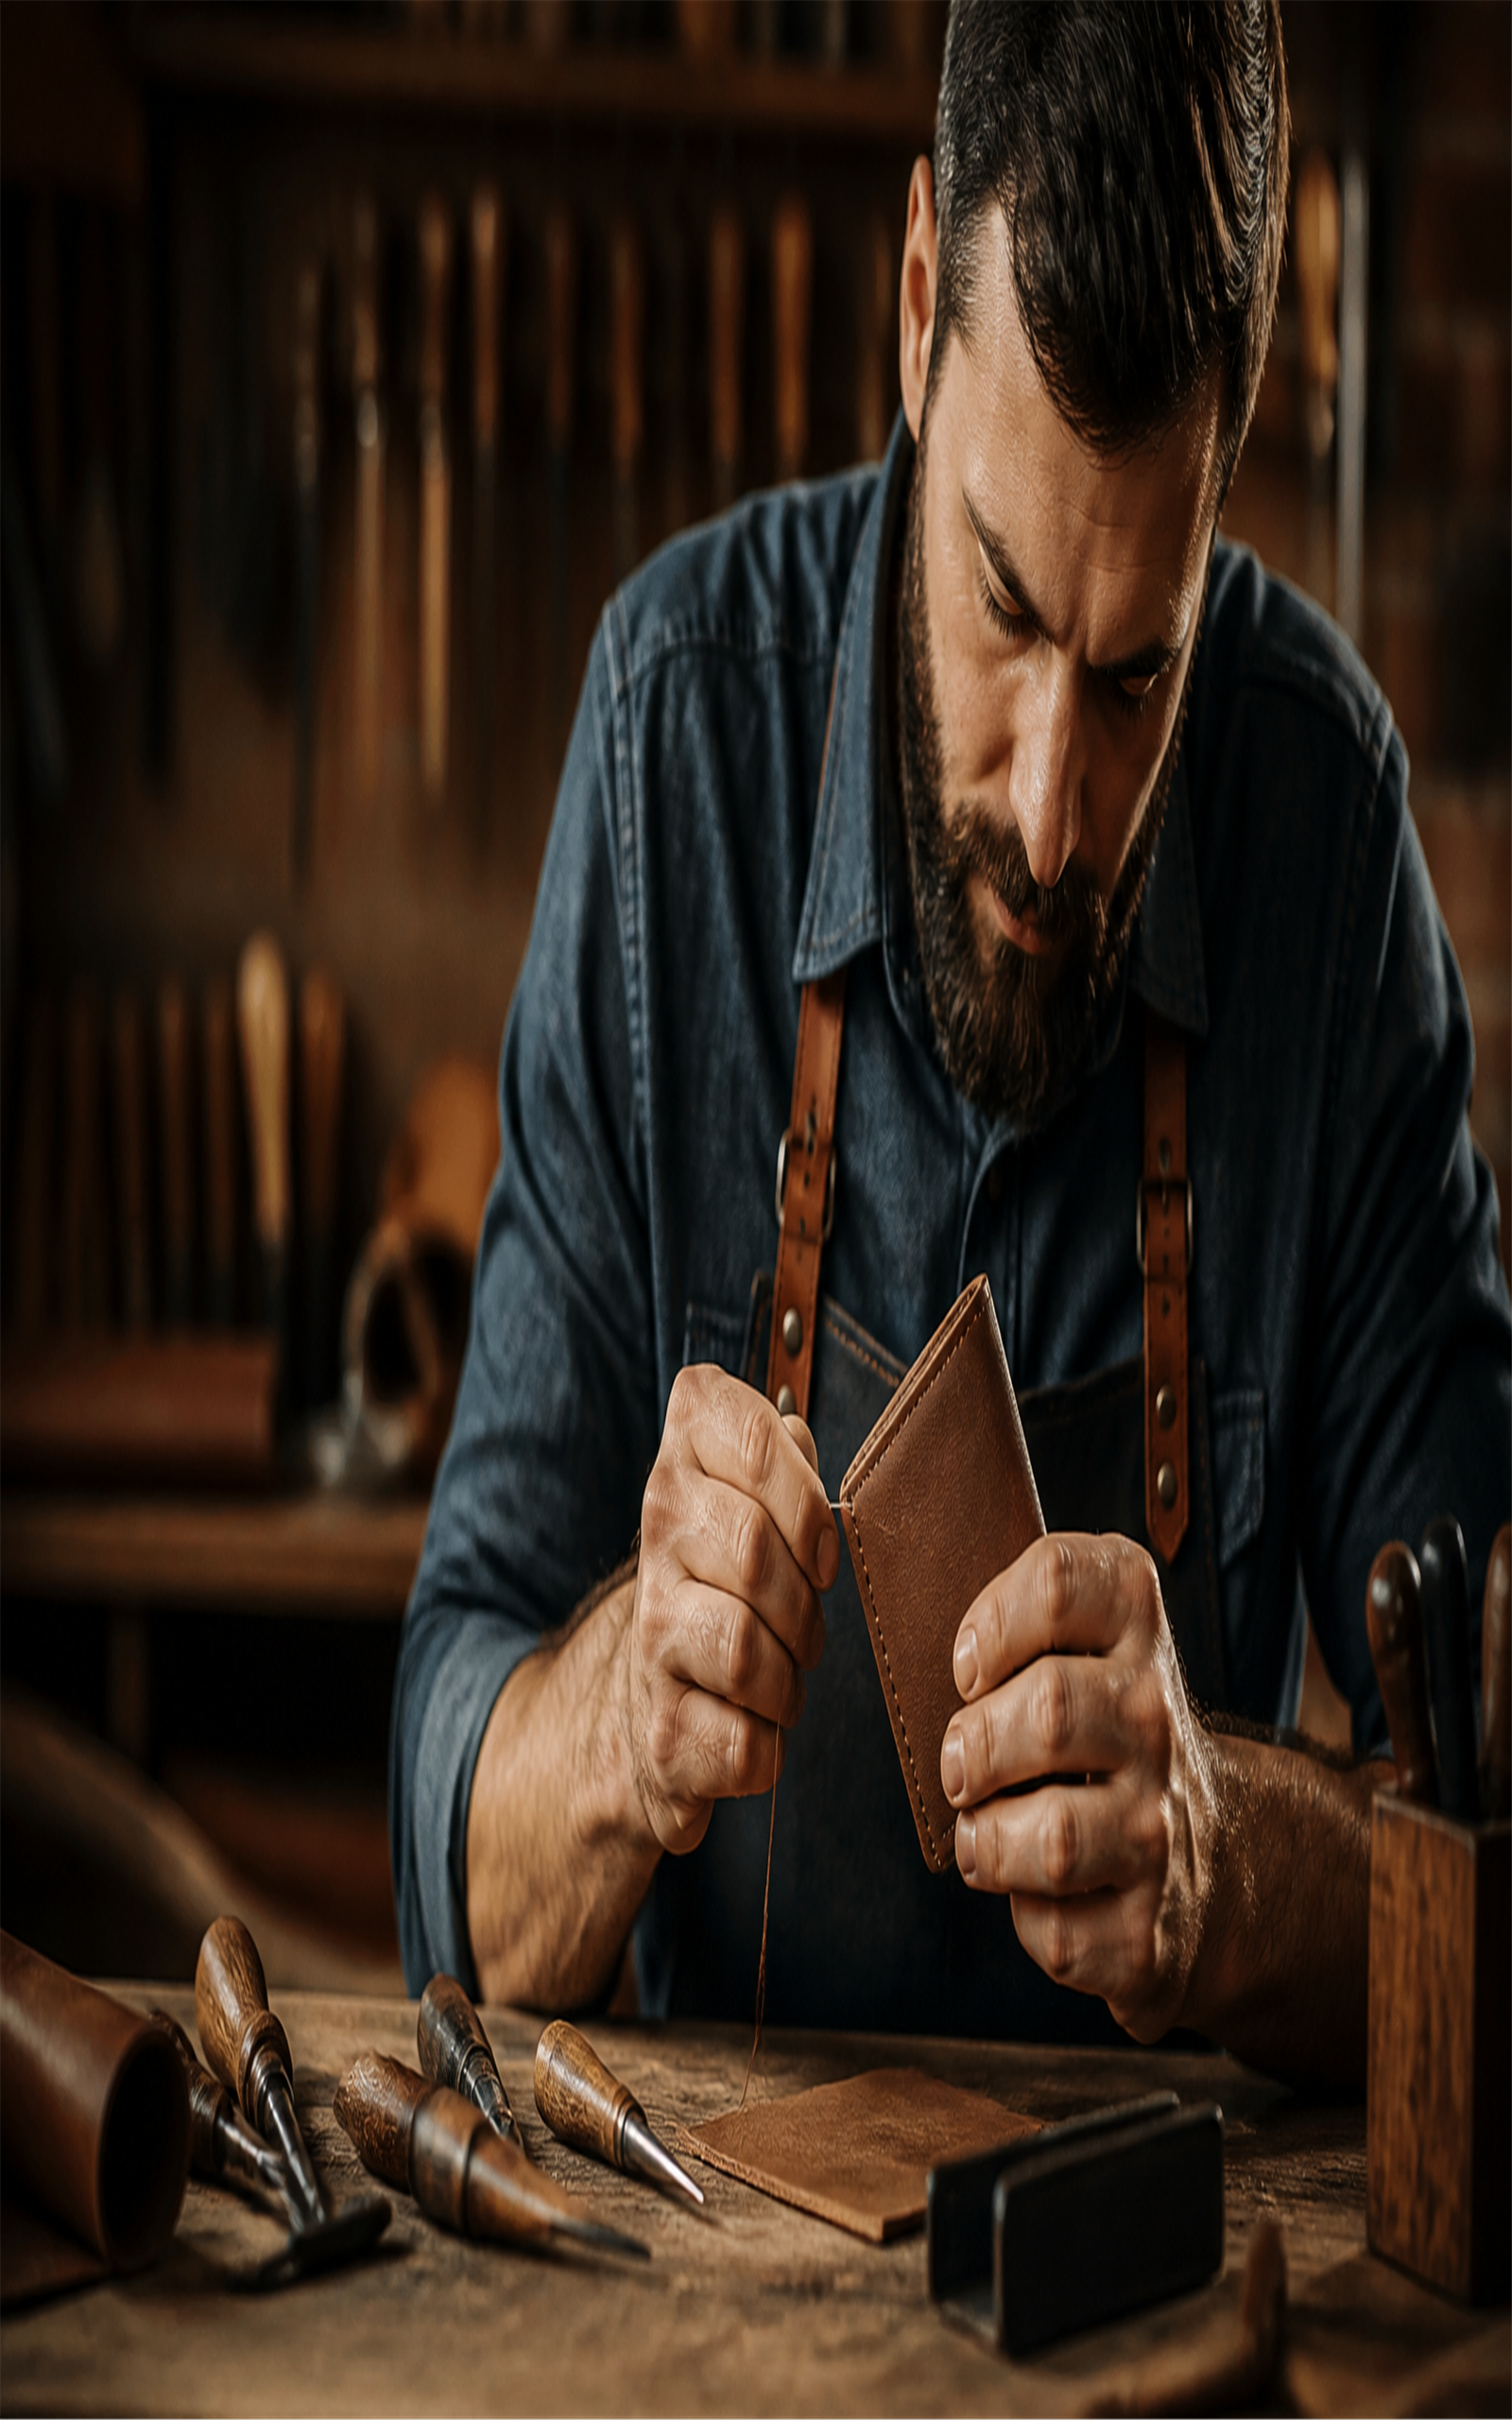
Understand who buys leather goods and why consistency wins repeat orders.
Curate SKUs with documented specs buyers can compare across your shop.
Source hides honestly and set up business basics before scaling production.
Stage bench tools, patterns, and finishing routines for your launch line.
Quality-gate every piece and price from measured production costs.
Reach buyers through markets, online shops, and process-driven marketing.
Add SKUs and capacity only when build quality stays consistent.
A leather craft business sells curated handmade goods through defined product lines—not every experiment you have ever stitched without production standards. You source hides with documented specs, cut from repeatable patterns, finish edges to a consistent standard, inspect every piece before packaging, and describe materials honestly so online buyers know what they are receiving. Customers pay for durability, tactile quality, and the confidence that the wallet or belt they order today will match the sample photo—not for mystery leather and uneven stitch spacing.
That distinction matters. Enjoying leatherwork as a hobby is not the same as running a leather craft business. Many skilled makers list dozens of unrelated items, underprice labor and hide waste, or ship pieces with visible variation between units. Gift buyers, EDC enthusiasts, and professionals continue to purchase leather goods when they trust the maker's construction discipline and material descriptions—but only when product lines feel intentional rather than improvised.
This guide walks you through how to start a leather craft business with professional habits: finding your opportunity, defining product lines, clarifying materials and business setup, building your tooling workflow, achieving construction consistency and pricing from real costs, winning first customers, and growing with the operational discipline that defines a credible handmade brand. By the end, you should understand what the business is, what you need to prepare, and what to verify before accepting your first wholesale or custom order.
Gift buyers, everyday-carry enthusiasts, professionals, and craft-fair shoppers hire leather makers when mass-produced alternatives feel disposable—wallets that fall apart, belts that crack, bags with anonymous materials. Your first step is understanding who you serve and what they expect from a professional product line—not assuming your stitching skill alone creates demand.
Leather craft businesses succeed when customers understand the collection before they buy: dimensions, leather type and weight, hardware finish, care instructions, and lead times for made-to-order pieces. Buyers are not simply purchasing an object—they are purchasing confidence that the next unit will match the first and that the hide will age as described.
Different buyers bring different price sensitivity, customization expectations, and repeat potential. Choose one primary profile for launch:
Often purchase wallets, key fobs, and small accessories as gifts or personal upgrades. They compare on photos, reviews, material descriptions, and whether the brand feels cohesive—not always on the lowest price alone.
Need journal covers, portfolios, and belts with consistent branding and reliable lead times. Predictable construction and bulk-order communication matter more than one-off artistic experimentation.
Want to feel stitching, smell the leather, and meet the maker. Touchable product lines, clear pricing, and visible process stories convert walk-by interest into immediate sales and follow-up online orders.
Observe your local and online markets: which leather brands command trust in your niche, and where do buyers still express frustration—vague material labels, inconsistent sizing, slow custom communication, or edges that fray within months? Your opportunity often sits in production clarity as much as in design talent.
Handmade businesses with overlapping buyer dynamics—such as those in the crochet business guide, handmade doll business guide, and greeting card business guide—show how focused product lines and repeatable production sustain craft revenue. Leather craft sits alongside other maker disciplines where quality control and honest listing copy define whether a hobby becomes a business.
Practical takeaway: Write one paragraph describing your ideal first buyer and the product type they want most—small accessories, belts, or bags. List three questions they will ask before purchasing—and make sure your future product pages answer them.
Before you open a shop or book a craft fair table, decide which SKUs belong in your launch collection and document the specifications that keep every unit consistent. Customers need a coherent line they can browse—not a random archive of every pattern you have tried.
Each product in your line should list dimensions, leather specs, hardware, and construction notes:
Wallets, card holders, key fobs, and coin pouches suit beginners and gift markets. Best when patterns are tested, edge finishing is repeatable, and leather weight is matched to the item's flex requirements.
Require consistent width, hole spacing, buckle compatibility, and edge dye that does not rub off on clothing. Size charts and return policies should be documented before launch.
Appeal to corporate and gift buyers when branding options and lead times are clear. Standardize notebook sizes you support rather than accepting any dimension on request at launch.
Complex bags, saddlery, footwear, and heavy tooling projects belong outside a first collection unless you already have production time data and quality gates for those builds. Naming deferrals upfront protects your schedule and reputation.
Every SKU in your launch line should have a one-page spec sheet:
Professional product lines follow a repeatable sequence:
Maker businesses that document specs before listing—like those described in the furniture flipping business guide for condition clarity—reduce return friction because buyers understand what they receive. Leather craft follows the same rule: honest dimensions and material labels prevent disputes about fit and feel.
Practical takeaway: Choose three to five products for your launch collection and write a spec sheet for each before cutting sellable inventory. If two SKUs share no design language or buyer, narrow further until the line tells one coherent story.
Leather quality and honest descriptions drive repeat orders more than clever brand names. Your material sourcing habits and business setup matter as much as your stitching—verify suppliers, document hide characteristics, and register the business before scaling production or wholesale conversations.
Build relationships with tanneries, distributors, or reputable hide sellers and record what you buy:
Informed buyers distinguish leather grades and tannages. Listing copy should state what the customer receives—not marketing euphemisms:
Leather origin when known, natural mark variation, expected patina on veg-tan goods, thread color, lining material if any, and whether items are made-to-order versus ready to ship.
Calling corrected-grain "full-grain," hiding synthetic components, omitting size tolerances, or showing prototype photos that production units no longer match. Accuracy protects reviews and repeat orders.
Separate business banking, sales tax collection where required, product liability consideration for items that contact skin daily, and written policies for returns, customization deposits, and wholesale terms protect you as much as supplier relationships do. Decide whether custom orders require deposits, how long made-to-order lead times run, and what happens when a hide lot changes color between batches.
The SBA guide to launching a business helps with general registration and planning steps. Start your research early—some craft fairs and wholesale accounts require proof of business registration and insurance before booth approval.
Practical takeaway: Create a material log for your launch leathers—supplier, lot, weight, and which SKUs each hide supports. Update listing copy whenever you change suppliers so returning customers know what changed.
A leather craft business runs on two foundations: tools and bench layout matched to your product line, and a build workflow that turns cut leather into finished goods without skipped finishing steps. Under-equipped benches and improvised routines erode margins and quality faster than any competitor's lower price.
Buy core equipment first; add specialty tools when repeated orders justify the cost:
Track tool replacement and consumable cost in your pricing model. Blades, edge coat, thread, and packing materials wear on every unit—they are production cost, not personal overhead you absorb silently.
Professional leather production follows a repeatable sequence:
Customers and fair reviewers notice details beyond the design itself:
Custom orders should capture dimensions, leather choice, hardware finish, monogram text, and approval checkpoints before cutting expensive hides. Surprises mid-build—changed mind on color, added pockets not quoted—are margin killers on made-to-order work.
Define a pre-ship checklist matched to your line: stitch tension even, no skipped holes, edges smooth and color-consistent, hardware secure, dimensions within stated tolerance, and packaging free of dye transfer. Inspect every unit against the checklist—not only the first piece of a batch.
Practical takeaway: Build one complete unit of your best-selling launch SKU while timing each workflow stage. Note any backtracking caused by missing tools or wrong build order—and fix bench layout before cutting a production batch.
Customers buy reliable quality and honest pricing—not pieces that vary noticeably between orders or prices copied from Etsy without accounting for your leather waste. Construction consistency and pricing discipline define whether a leather brand can scale.
Consistency comes from standards applied before shipping, not hope:
One sloppy unit in a gift order damages more trust than ten perfect ones build quietly. Reject pieces that fail your checklist even when you are eager to ship—discount seconds through a separate outlet if you choose, but do not ship them as first quality without disclosure.
Consider every cost category that applies to your model:
Made-to-order custom work should price discovery time, revision rounds, and monogram setup separately from catalog SKUs. Small accessories carry disproportionate listing and packaging overhead—a ten-dollar key fob is not priced like ten dollars of leather alone.
Include lead times, customization deposit rules, return windows for sizing issues, and what happens when a hide lot varies in color. Leather goods labor is bench-locked; rushed re-cuts because dimensions were never standardized are cost you cannot recover on another product.
Track actual hours and material cost on every early unit against your estimate. Adjust spec sheets and pricing templates based on real results rather than initial guesses. The crochet business guide emphasizes the same discipline: accurate pricing comes from documented production costs and honest product descriptions, not competitor underpricing.
Practical takeaway: Build a pricing spreadsheet with leather yield, labor minutes per stage, and overhead allocation. Complete it for every launch SKU, then compare projected costs to actuals after your first ten sales. Refine before adding new products or wholesale tiers.
Trust drives purchasing decisions in handmade leather goods. Buyers choose makers who show consistent product photos, describe materials honestly, and deliver units that match listings—not whoever lists the most unrelated items at the lowest price.
Avoid listing before construction standards exist behind the photos. Process documentation, consistent edge finishing visible in macros, and reviews that mention durability convert interest better than discount messaging on inconsistent units.
Handmade brands with similar trust dynamics—such as those in the handmade doll business guide and greeting card business guide—show how focused collections and professional listing copy sustain craft revenue. The operational pattern translates: buyers reorder from makers they believe will ship the same quality twice.
Practical takeaway: Sell your first ten units through one market or direct outreach to gift buyers in your network—before paying for ads. Document every product question buyers ask and refine listing copy after each event.
Growth means adding SKUs and capacity only when construction consistency, material documentation, and fulfillment stay reliable—not listing every new design because your bench has free time.
A sensible progression:
Adding helpers introduces quality control. Document stitch standards with photos, review finished units together on early batches, and compare estimate-to-actual hour variance monthly. One inconsistent belt edge or weak rivet can damage the reputation that took seasons of fairs and reviews to build.
Track metrics that matter: return rate, repeat purchase rate, average build time per SKU, material waste percentage, and revenue per craft-fair hour—not vanity metrics like total followers. Fix workflow and spec gaps before expanding the product catalog.
Practical takeaway: After your first twenty shipped units, identify your slowest build stage and your strongest sales channel. Fix the workflow bottleneck before adding complex new categories like bags or footwear.
Use this four-week outline to move from interest to a controlled first sale. Each week builds on the last for a leather craft business launch.
Confirm these essentials before you list products publicly or book a paid craft fair booth.
A leather craft business is a focused handmade brand that sells curated leather goods through defined product lines—not one-off hobby pieces without production standards or material documentation. Success depends on product line clarity, tooling workflow, construction consistency, honest material descriptions, and repeatable build routines customers can trust.
Start with a core kit matched to your launch product line: cutting surface, sharp knives or rotary cutter, edge tools, hole punches, needles and thread, and basic finishing supplies. Add specialty tools—skiving machines, clicker presses, or leather splitters—only when repeated orders justify the investment. A staged tool kit aligned to your product menu keeps startup costs controlled.
Choose a focused collection—wallets, belts, key fobs, journal covers, or bags—and document dimensions, leather weights, hardware, and stitch specifications for each SKU. Buyers compare on consistent quality and clear material descriptions, not overwhelming variety without production discipline.
Create build-order checklists, standardized patterns, edge-finishing routines, and quality gates before packaging. Photograph reference samples, measure stitch spacing, and inspect every piece against a defect list. Consistent construction reduces returns and builds the brand reputation that supports premium pricing.
State leather type, tannage, weight, origin when known, and expected patina or variation honestly. Full-grain, top-grain, and genuine leather mean different things to informed buyers. Material clarity prevents disappointment and supports trust—especially for online sales where customers cannot feel the hide before purchase.
Build pricing from leather cost per square foot, hardware, thread and finish consumables, labor hours per build stage, packaging, overhead, and the margin that makes production sustainable. Track time on every early piece against your estimate—not competitor prices from another market you cannot verify.
Many makers combine online shops—Etsy, Shopify, or a simple storefront—with craft fairs and local markets where buyers can inspect stitching and leather feel. Diversified channels reduce dependence on one algorithm while letting you gather direct product feedback.
Launch with a controlled collection of three to five SKUs photographed consistently. Reach buyers through local markets, social media showing process and materials, and word-of-mouth from gift recipients. A focused line with documented construction standards converts faster than a cluttered shop listing every experiment.
This leather craft business example was developed using eBook Business Builder—the workflow used to structure the guide, free lead magnet, offer assets, email series, and marketing content you see in the EBB Showroom below.
If you want to create your own eBook business around a topic you know, EBB walks you through research, writing, assets, and launch in a repeatable system. See how business assets fit together and launch marketing for your eBook business to understand the full EBB build model.
Start Building with eBook Business Builder →The flagship guide explains how to start a leather craft brand—product lines, tooling workflow, construction consistency, material clarity, pricing, and customer communication—in a structured eBook format.
Chapters walk readers through evaluating the opportunity, defining launch collections, sourcing and describing materials honestly, building bench workflow, pricing from measured production costs, winning first customers, and growing operations without sacrificing quality standards.
First Goods & Tooling Setup — a lead magnet that helps readers evaluate whether leather craft fits their skills and identify sensible first steps before investing in inventory or fair booths.
Many makers sell leather goods without product line focus, tooling plans, or material descriptions that protect margins and customer expectations.
Foundational first steps, common early mistakes to avoid, and a simple action plan readers can use before committing to production runs or shop launches.
Enjoys leatherwork as a hobby but unsure how to define product lines and run a craft business professionally.
Prepared with the fundamentals needed to choose launch SKUs, set up a bench workflow, and describe materials honestly in listings.
Leather Craft Startup Program
A practical flagship guide for readers ready to move from interest to action—with clear first steps and professional production habits for dependable leather goods.
Tools & References